In this article I will be giving you a brief insight into checking & re-conditioning a Honda H100A engine. (The MB & MT5 engines are similar). It is more than capable of a competent DIY mechanic.
It is strongly recommended that you purchase a workshop manual for this procedure and not to relay on this article as sole information.
The H100 engine was fitted to the MB5 when purchased but had not been running for quite a while. After some fresh petrol in the carb it started first kick and settled down to a steady idle. There was a slight rumbling from the bottom end so I decided to investigate.
After removing the cylinder head and barrel the first of the horrors was discovered.
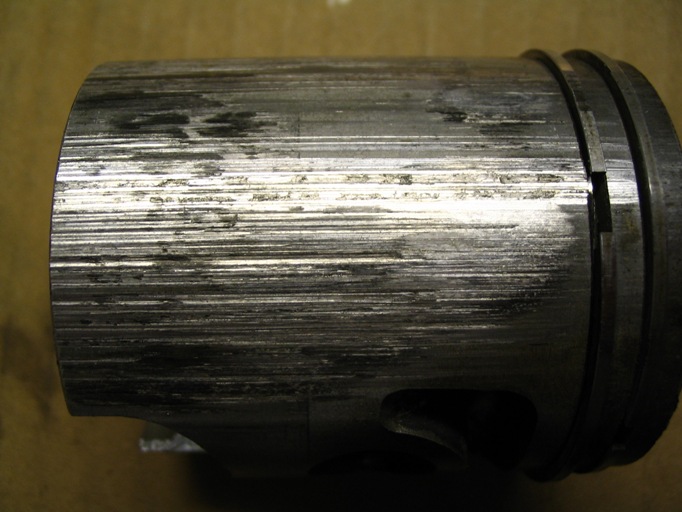
The engine at some time must have been run without oil causing the piston to pick up in the bore. The cylinder was badly scored as well so no other option than to have a re-bore.
This piston is the original as it has no numbers on the piston crown so it could be a low mileage engine.
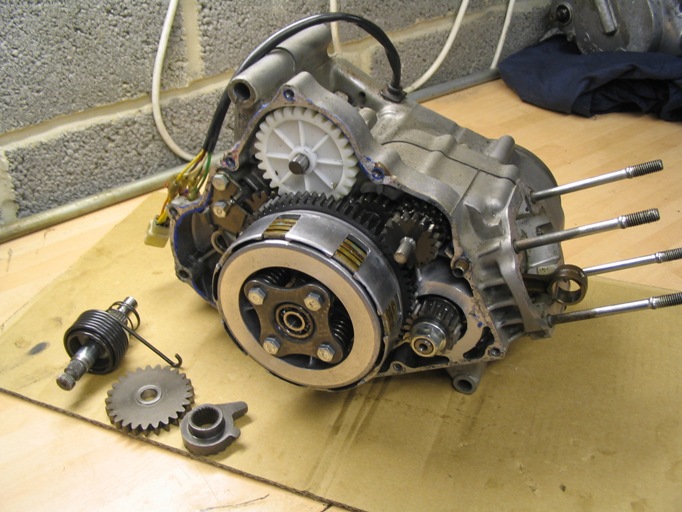
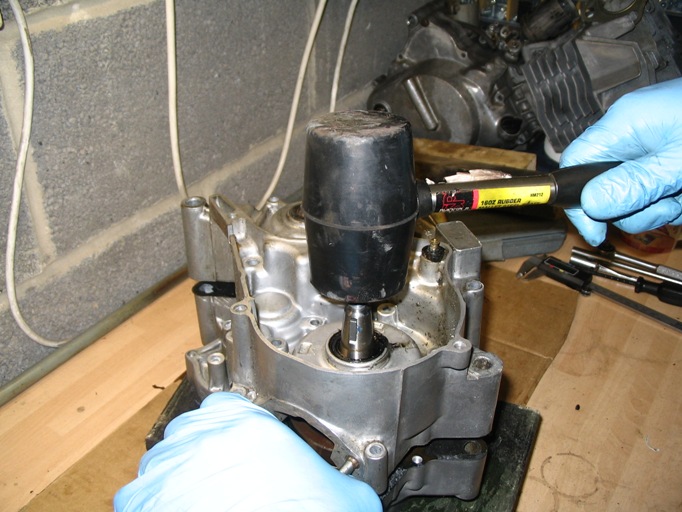
Next the clutch casing was removed
(be careful of the kick-start shaft as it is on a spring and will jump out!)
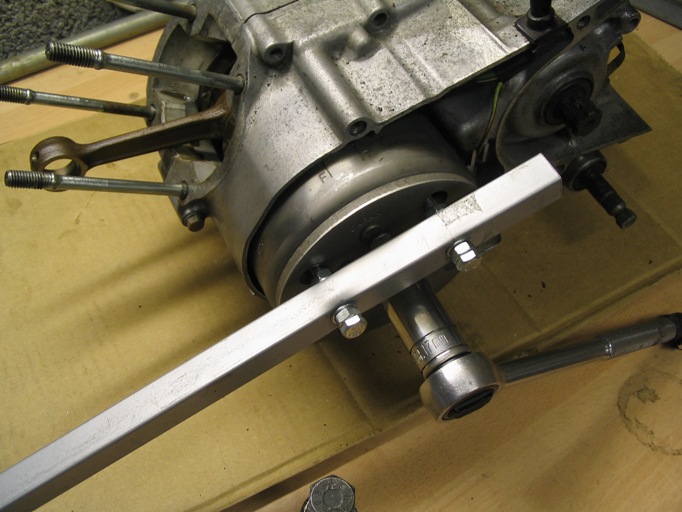
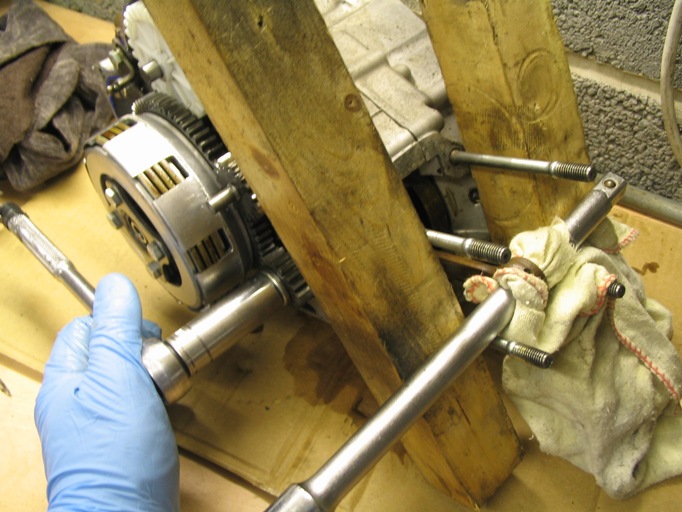
Moving to the other side remove the flywheel using a proper removal tool (they only cost about £5 ) do not use a hammer and screwdrivers etc as you will ruin it! The magnets can crack then the flywheel is toast!
Undo the nut first, I use a home made tool to hold the flywheel but you could use a strap that is used for oil filters.
Then remove the flywheel with the special tool
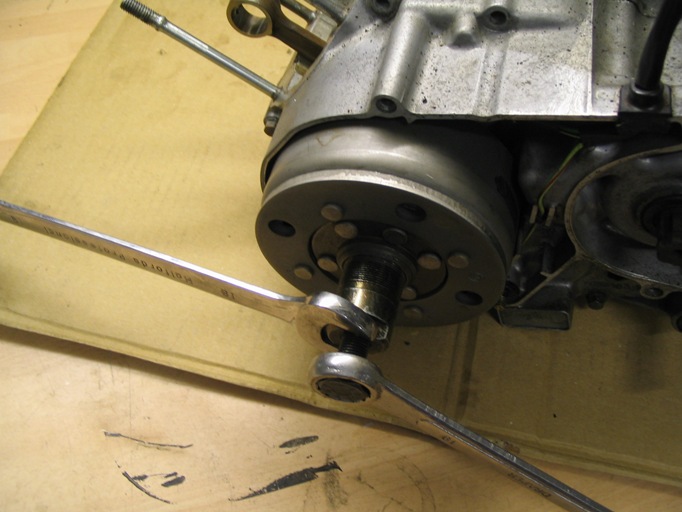
Remove the generator stator unit with the 3 bolts

Lock the crankshaft and remove the nut on the end of the crankshaft.
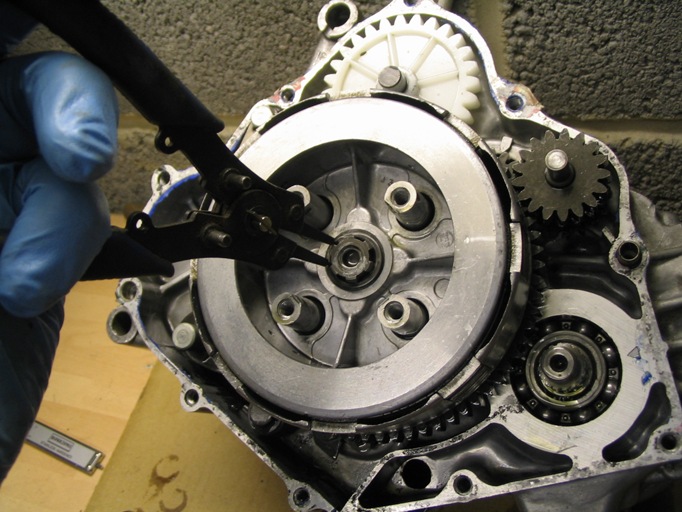
Remove the 4 bolts from the centre of the clutch basket and remove the springs and bearing carrier. Then remove the circlip from the centre of the clutch (be very careful not to let it twang off into the other corner of the garage never to be found again!)
Then lift off the complete clutch basket.
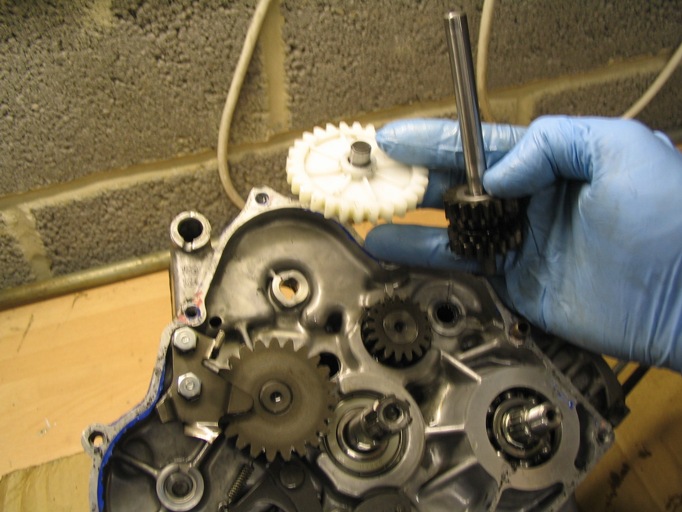
Remove the idler shaft and the white plastic oil pump drive gear
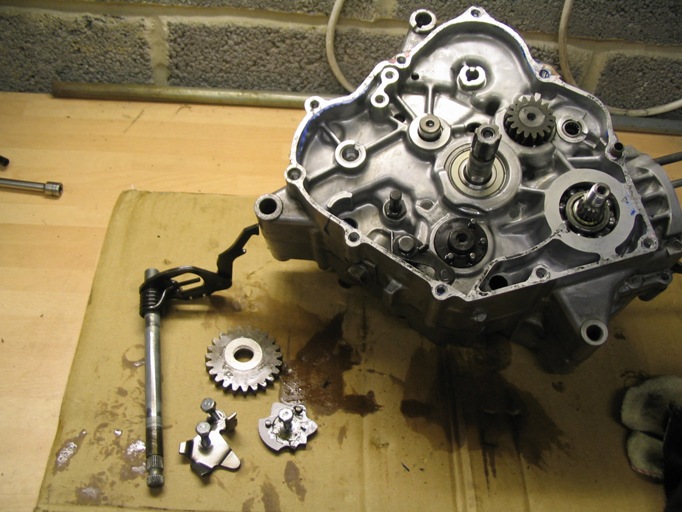
Remove the two bolts that hold the idle cog retaining plate and also the bolt that holds the plate on top of the gear selector drum. Withdraw the gear selector shaft.
As you can see from the next picture the crankshaft oil seal has been leaking, however a complete set of seals will be fitted on re-assembly.

Now remove all the remaining bolts from the crankcases, hold the 2 uppermost cylinder studs and gently tap the crankshaft with a rubber mallet and the cases should separate.
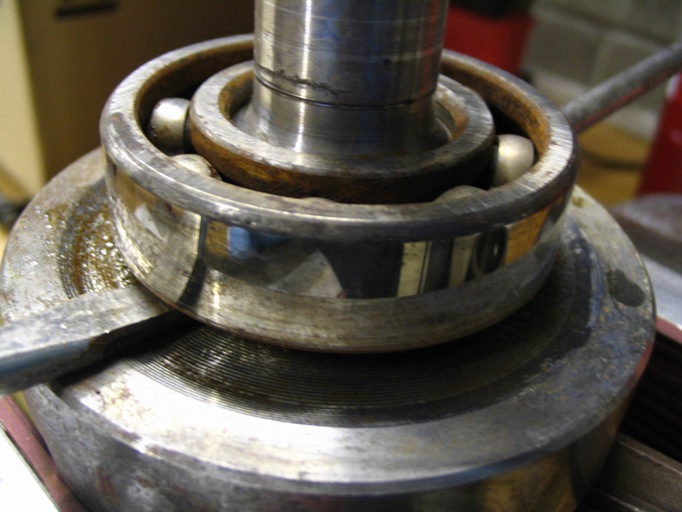
Oh dear Oh dear! I’m not surprised the engine had a rumble sound, one of the main bearings is rusty indicating that water has been in the crankshaft chamber. Bad news as the big end could be damaged as well.


Ah well we will have to wait and see. Next remove the gear clusters, selectors and selector drum. Check the gears for wear on the edge of the teeth and any chipping; ours look fine although I will check the tolerances etc later.
Tap the crankshaft carefully from the crankcase using a soft hammer.
I have then put the crankshaft into the de-greaser to clean it up. These are great and only cost about £40 from places such as Machine Mart.
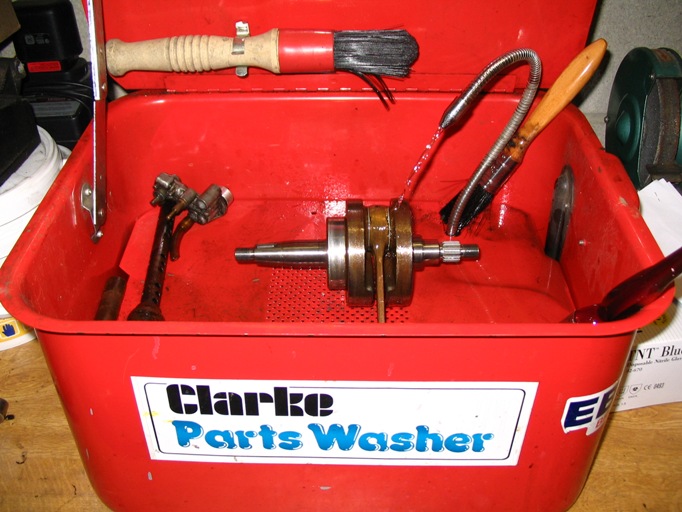
After cleaning, every thing appears fine. The big end is smooth with no play and the little end is free of any marks. Phew, that will save a few bob!
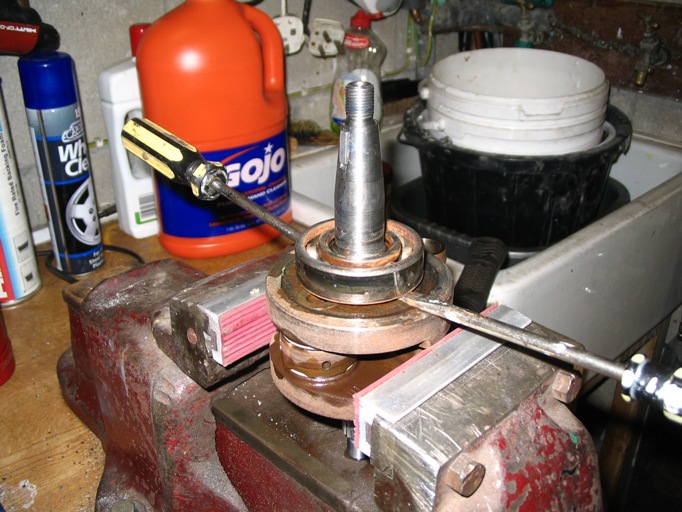
Next the bearing on the shaft has to be removed, cue Honda special part No **********.
No I’ve not got one either so a couple of old screwdrivers tapped under the bearing usually frees it up enough to get a couple of tyre leavers under to prise the bearing off.
Watch this space for further developments